Top Exterior Auto Detailing Tips for a Showroom Finish
CALL (410) 946-7360
SCHEDULE ONLINE
Achieving a showroom-quality finish is an art that many car enthusiasts strive for, yet it often feels like an unattainable goal. The frustration of investing time and money into detailing your car, only to see lackluster results is something every car show participant understands too well. You're not alone—many share this dilemma, but what sets some apart is knowing where to look for effective solutions.
To achieve a showroom finish on your car's exterior, start with a thorough wash using pH-balanced car wash soap, followed by drying with microfiber towels. After washing, use a clay bar to remove contaminants from the paint, apply a quality polish to enhance shine, and finish with a durable wax or sealant for protection and gloss enhancement.
The Perfect Car Wash Technique
To achieve a flawless finish, each step of the car wash should be executed meticulously.
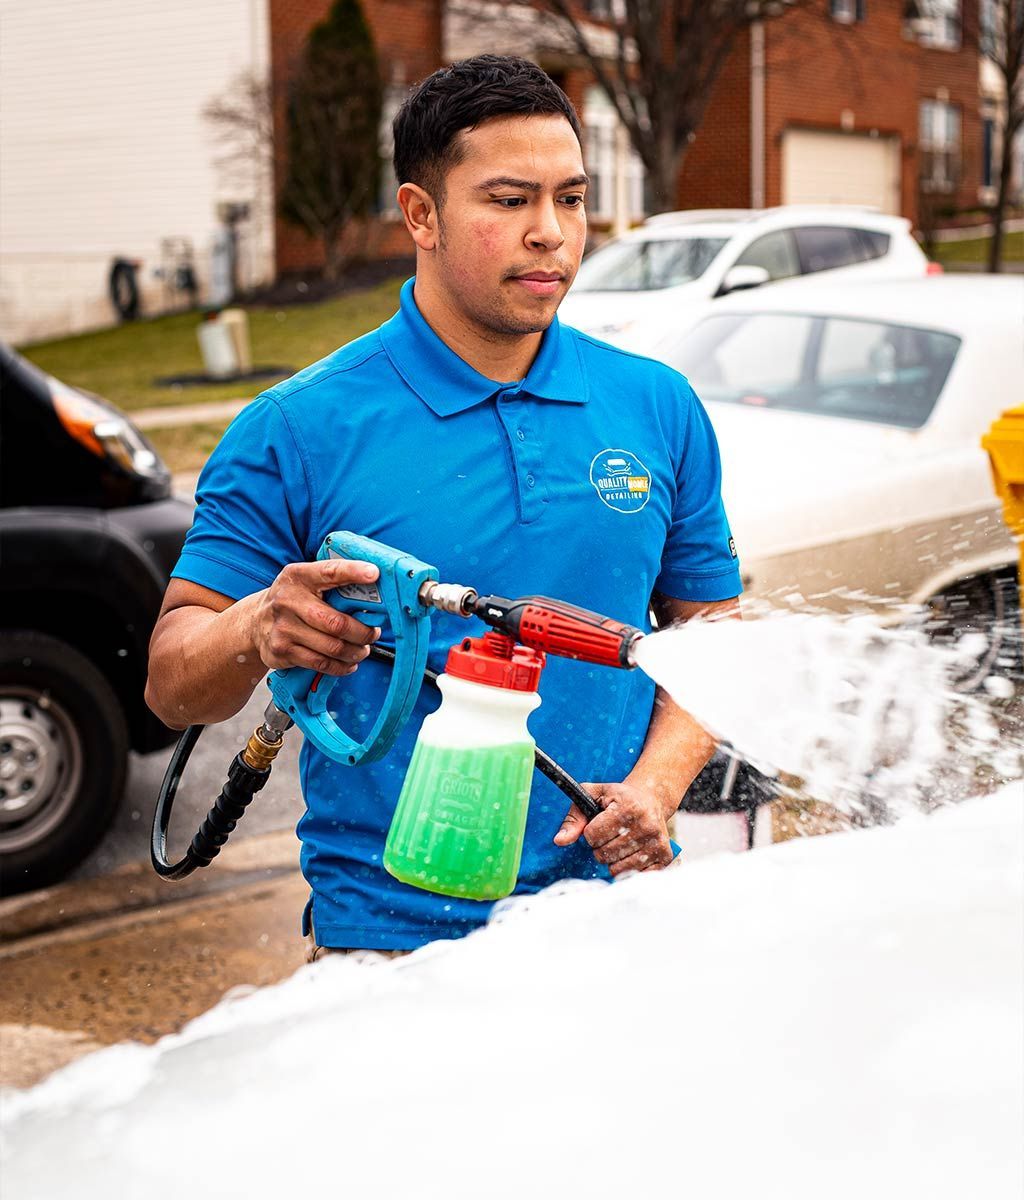
Step 1: Pre-Rinsing
First and foremost, start with a thorough pre-rinse. This initial step is crucial as it removes loose dirt and debris that could potentially harm the vehicle's surface if agitated later in the process. Using either a hose or a pressure washer set to low pressure will help avoid any damage while effectively loosening dirt. Imagine it as giving your car a gentle shower before its bath, setting the stage for a deep clean.
Once you've rinsed away the surface muck, you’re ready for the next challenge: employing the two-bucket method.
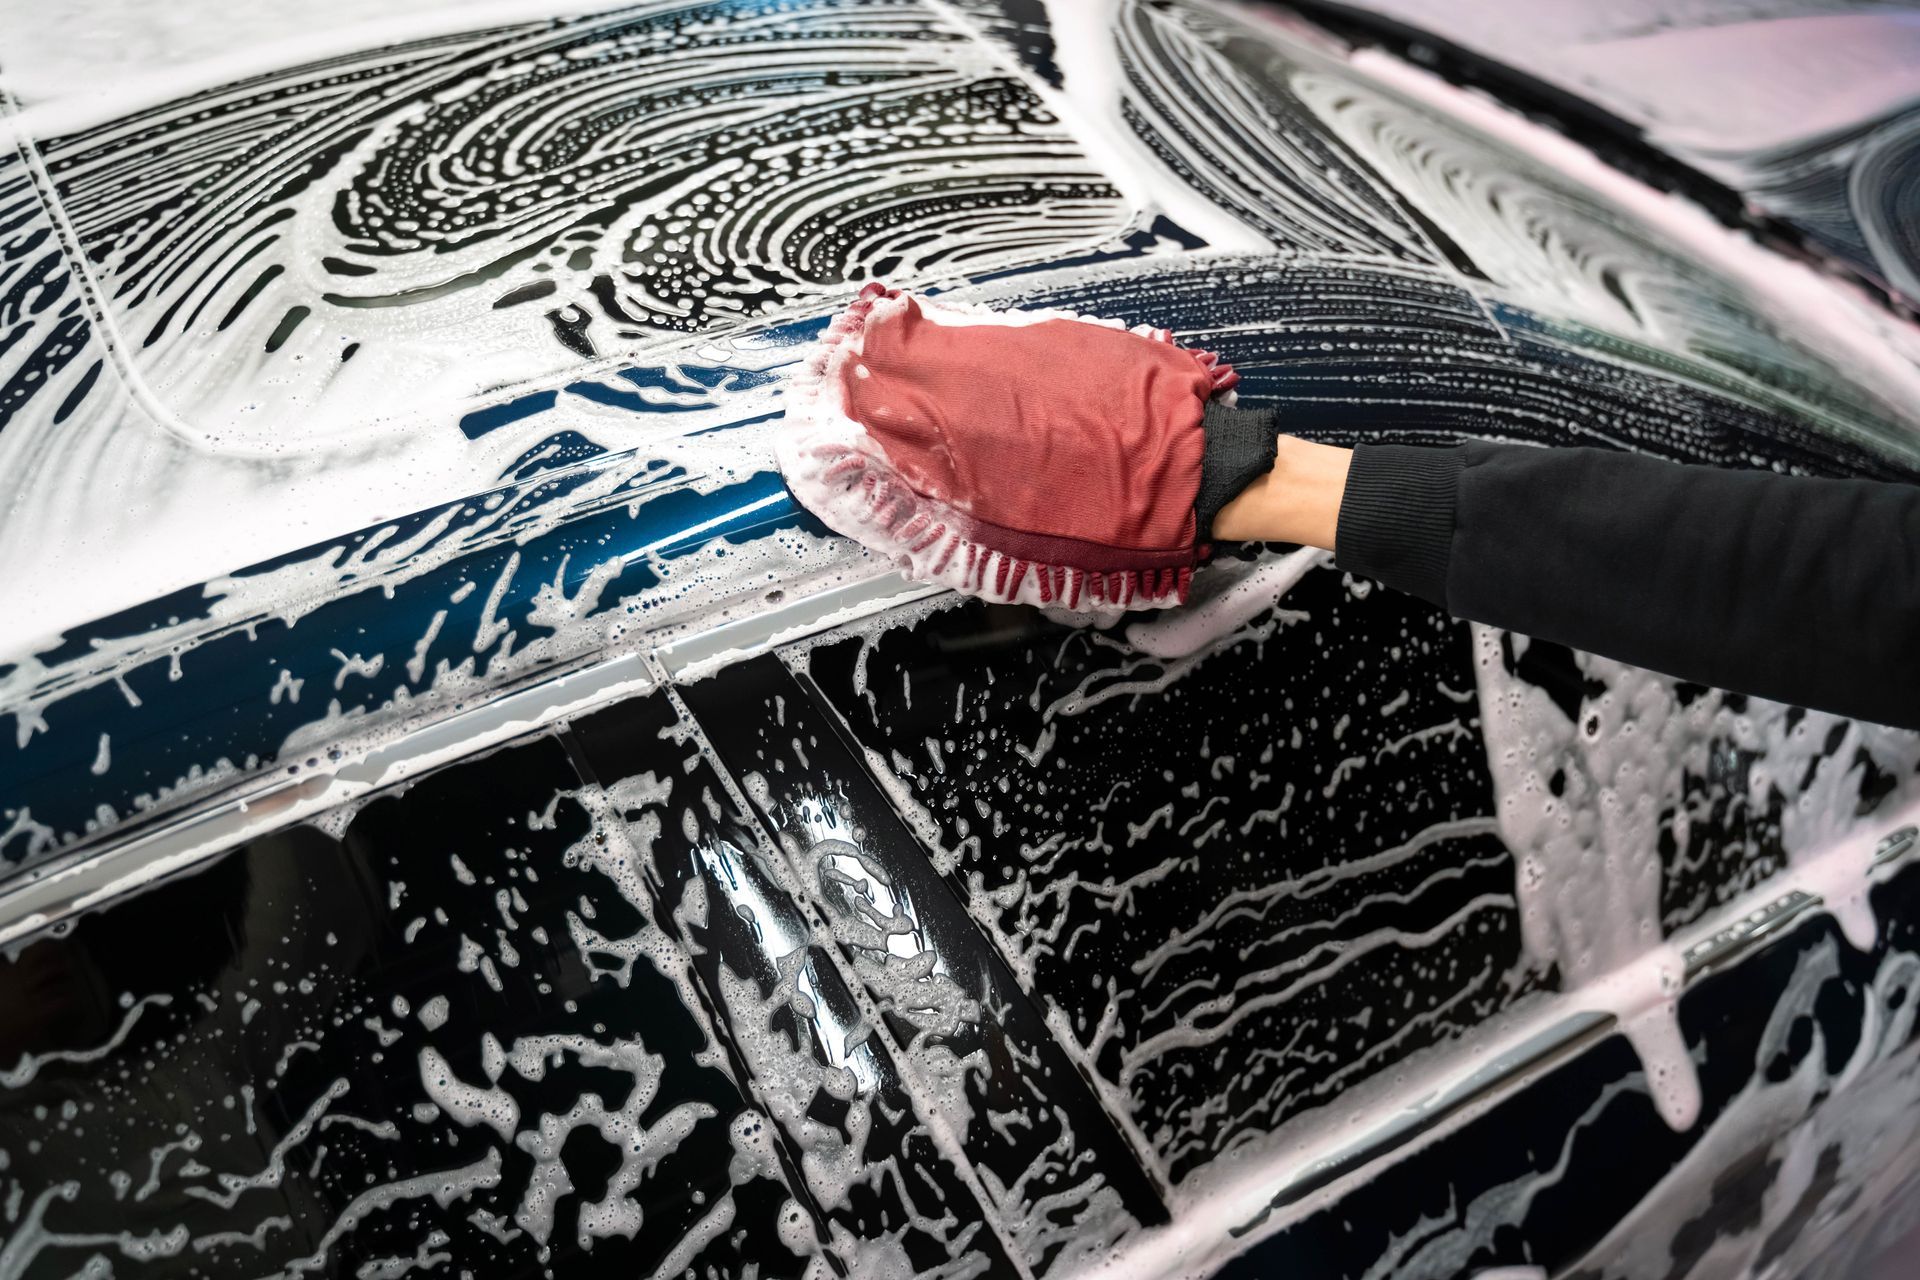
Step 2: Two-Bucket Method
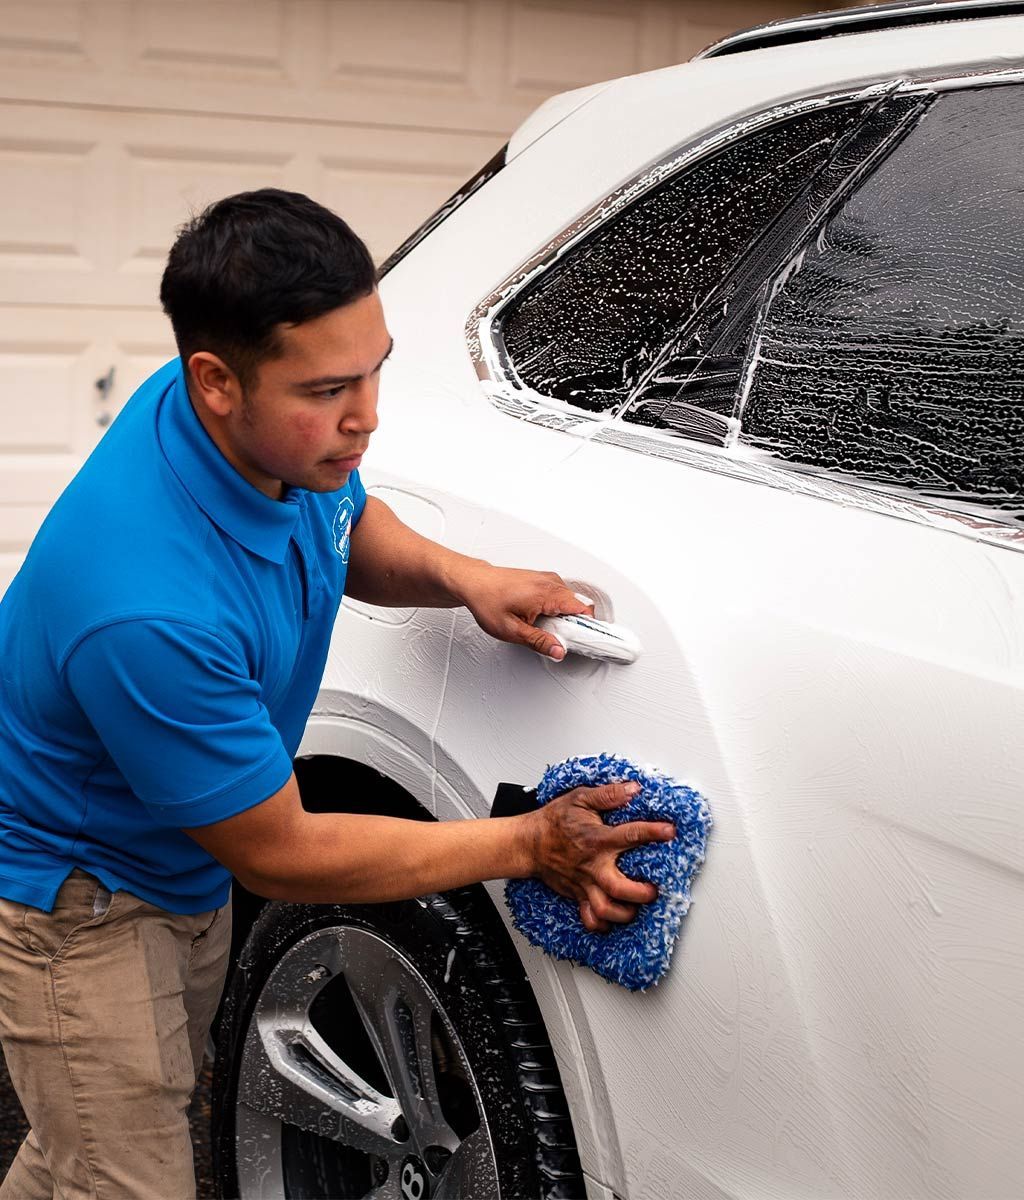
The two-bucket method is not just a recommendation; it's an essential practice in effective car washing. Fill one bucket with soapy water, using pH-balanced car wash soap specifically designed for automotive surfaces, and the second bucket with clean water for rinsing your wash mitt or sponge. This technique significantly minimizes the likelihood of reapplying dirt onto your vehicle. When applying soap to your wash mitt, dip it in the soapy bucket, wash a section of the car, and then rinse it in the clean water before re-soaping. It’s like having a mini spa day for your car—keeping both your cleaning tools and your vehicle fresh.
Step 3: Washing Top Down
Always begin washing from the top down. This technique is not merely about routine; it’s based on common sense. The lower parts of your vehicle generally accumulate more grime due to splashes when driving or residual dirt settling over time. Starting at the highest point guarantees that as you work downwards, you're allowing cleaner water and less contaminant-laden soap to run down, thus preventing dirt transfer back to higher sections of the car. Think of it as gravity helping you out—letting nature do part of the job while you focus on cleaning.
Step 4: Clean Wheels Separately
Next, turn your attention to those often-forgotten wheels. It's critical to clean them separately using specialized wheel cleaners and brushes designed specifically for this task. Wheels accumulate brake dust and road grime that can be much tougher to remove than standard dirt on vehicle surfaces. By isolating their cleaning process, you prevent cross-contamination of soaps and other cleaning agents that might ruin that gleaming finish you've worked so hard to achieve elsewhere on your car. Treating wheels with care not only enhances their appearance but also extends their lifespan by removing harmful contaminants regularly.
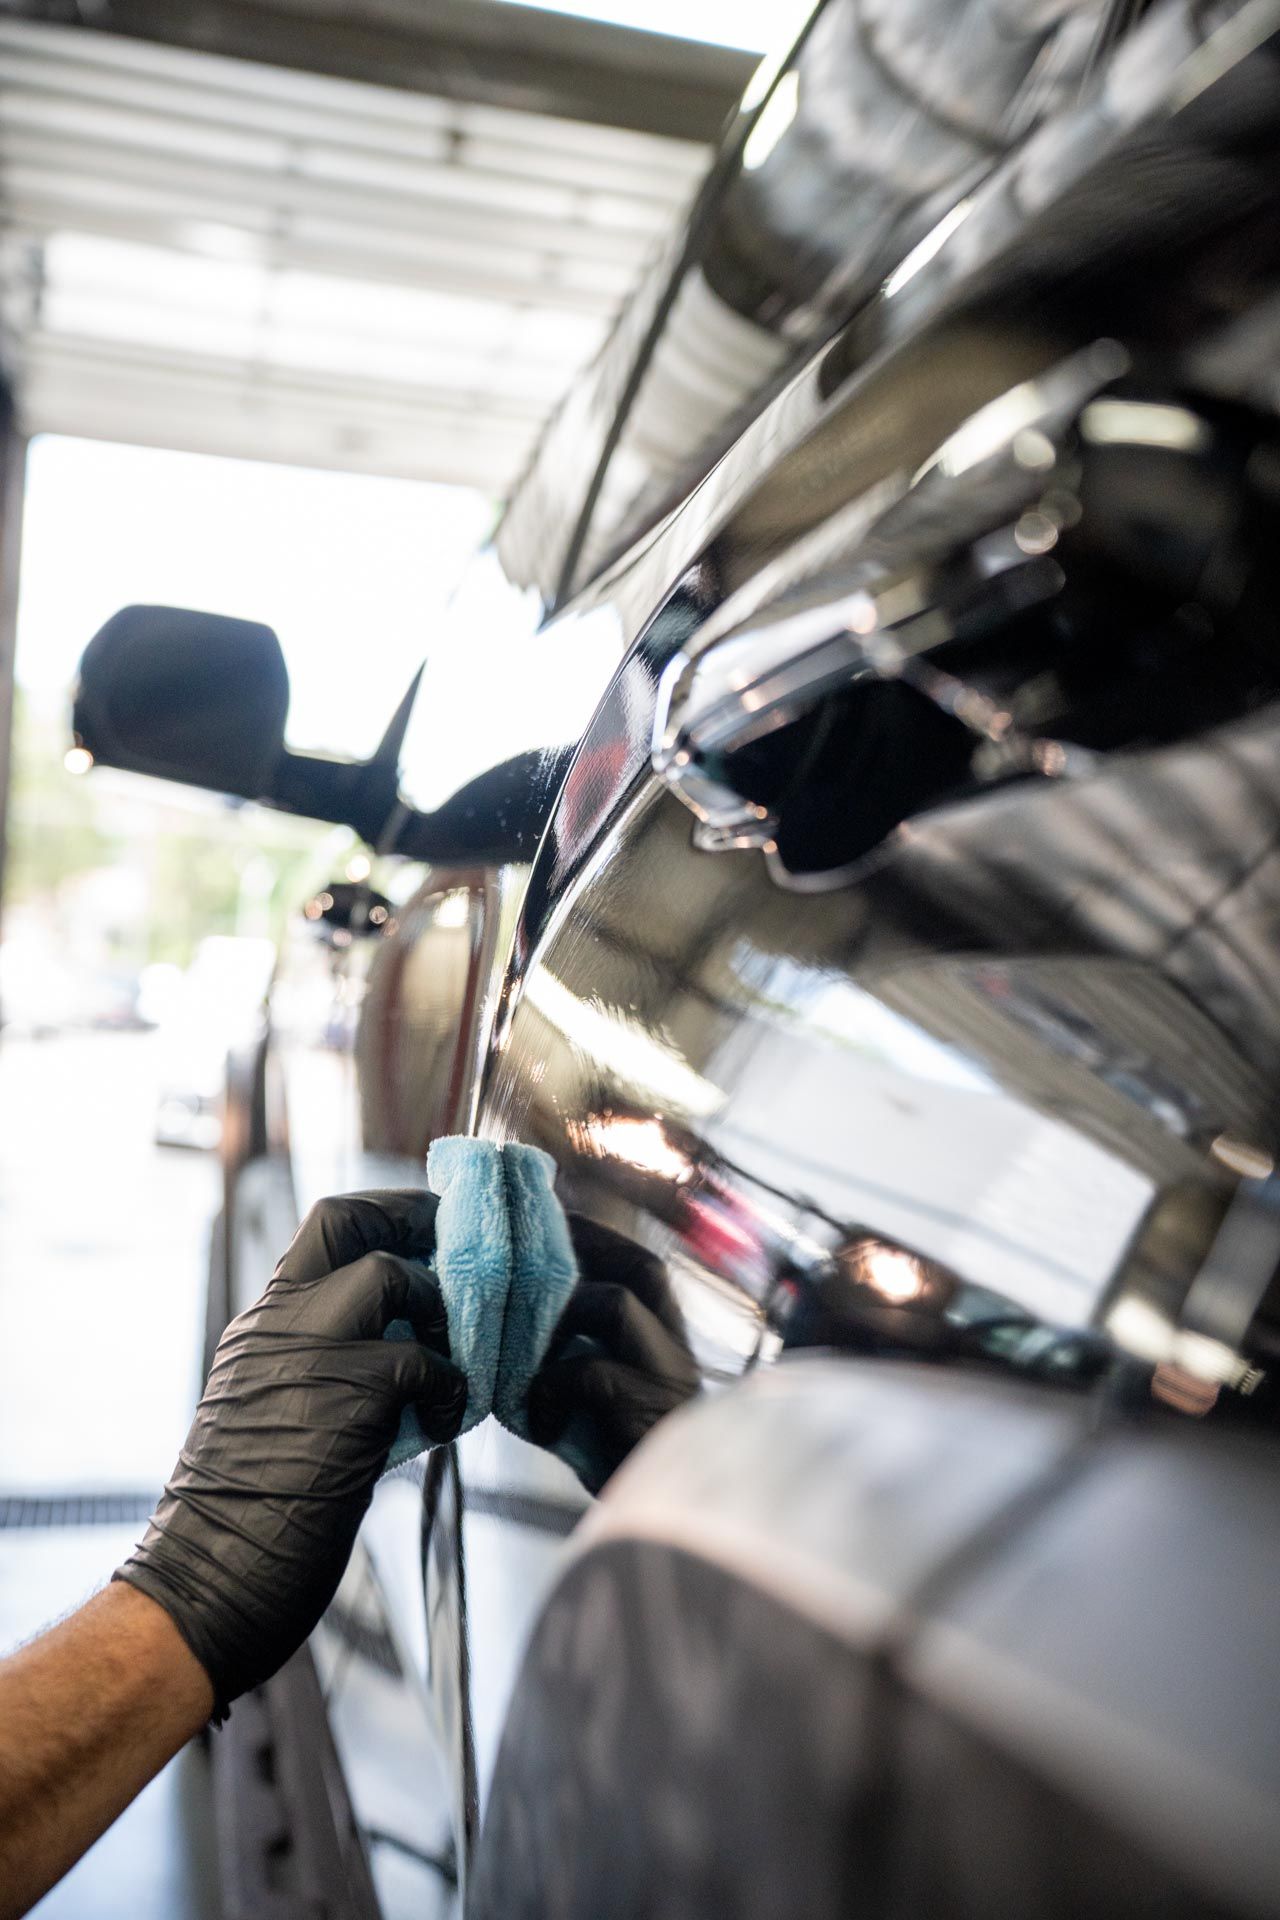
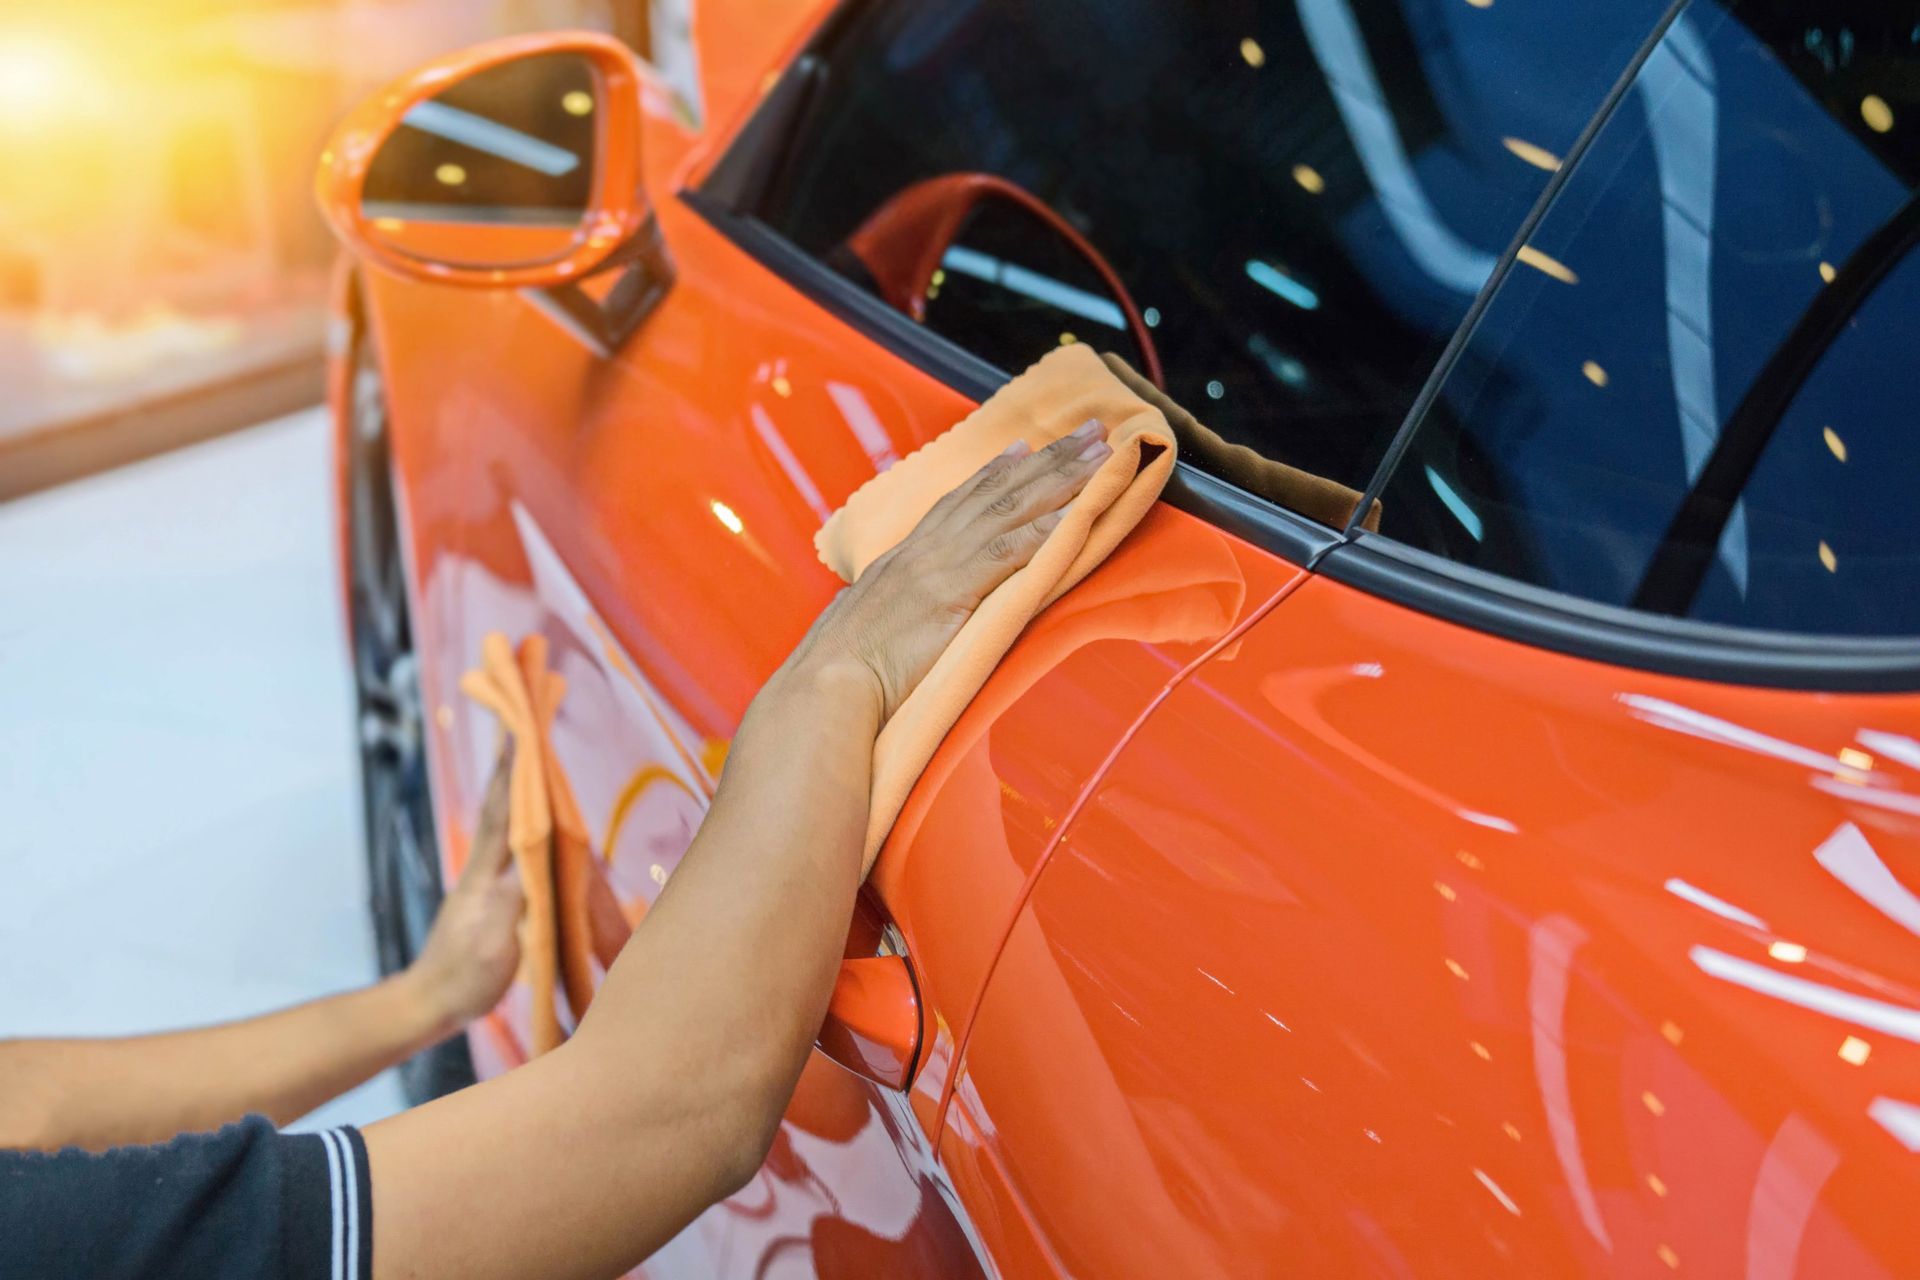
Drying and Preparing the Surface
The way you dry your car can make a significant difference in its overall appearance. Water spots are not only unsightly but can dull the finish, making all your hard work seem less impressive. To avoid this, be diligent in your drying process.
Steps to Dry Your Car
Step 1: Waffle Weave Microfiber Towels
One of the best tools in your arsenal for drying is a high-quality waffle weave microfiber towel. These towels are specifically designed to be super absorbent while being incredibly gentle on the paint surface. Unlike traditional chamois, which can sometimes mar the finish, these microfiber towels glide over the surface effortlessly. Consider investing in multiple towels; it's better to swap in a fresh towel than risk rubbing dirt back onto the clean paint.
Step 2: Dab and Drag Technique
When you're ready to start drying, resist the urge to rub—this is where many people go wrong. Instead, adopt the dab and drag technique. Lightly dab a section of your car with the towel to soak up excess water and then gently drag it downwards in long, smooth strokes. This method not only absorbs water effectively but also leaves your car's paint intact and gleaming.
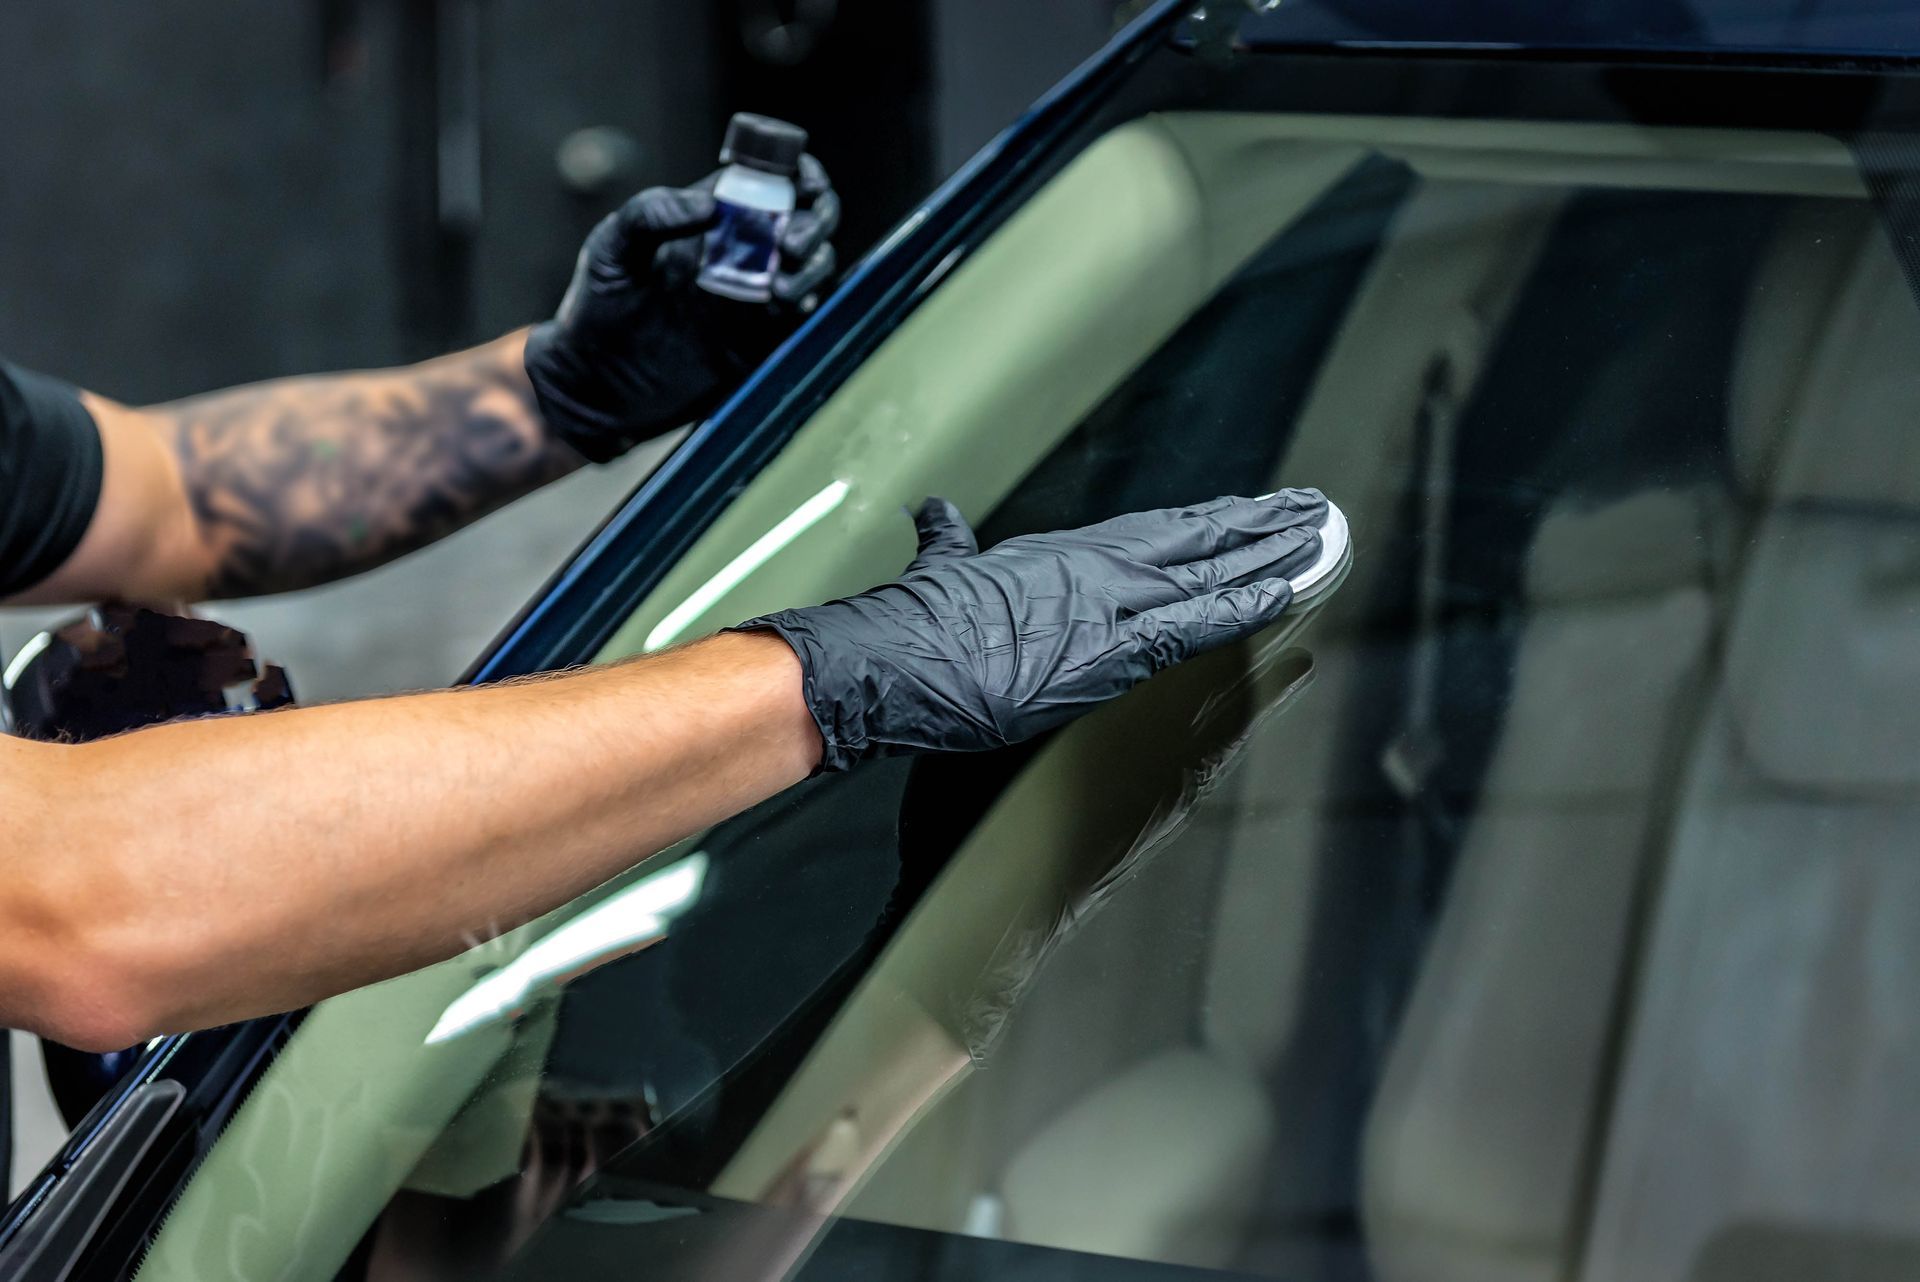
Surface Preparation
Step 3: Clay Bar Treatment
With your vehicle dried thoroughly, it’s essential to assess the surface preparation next. This step could be the differentiator between an average shine and a showroom finish. To do this, simply run your hand over the paint surface. If it feels gritty or rough rather than smooth, it's time for a clay bar treatment. The clay bar will remove embedded contaminants like tree sap, industrial fallout, and other particles that washing alone can't eliminate.
By using a clay bar, you create a glass-like surface that ensures polish adheres evenly and effectively during later steps.
This meticulous attention to detail brings out the best in your vehicle's finish. After using the clay bar, you'll find that not only does your car look cleaner, but it also prepares the surface perfectly for polishing and waxing.
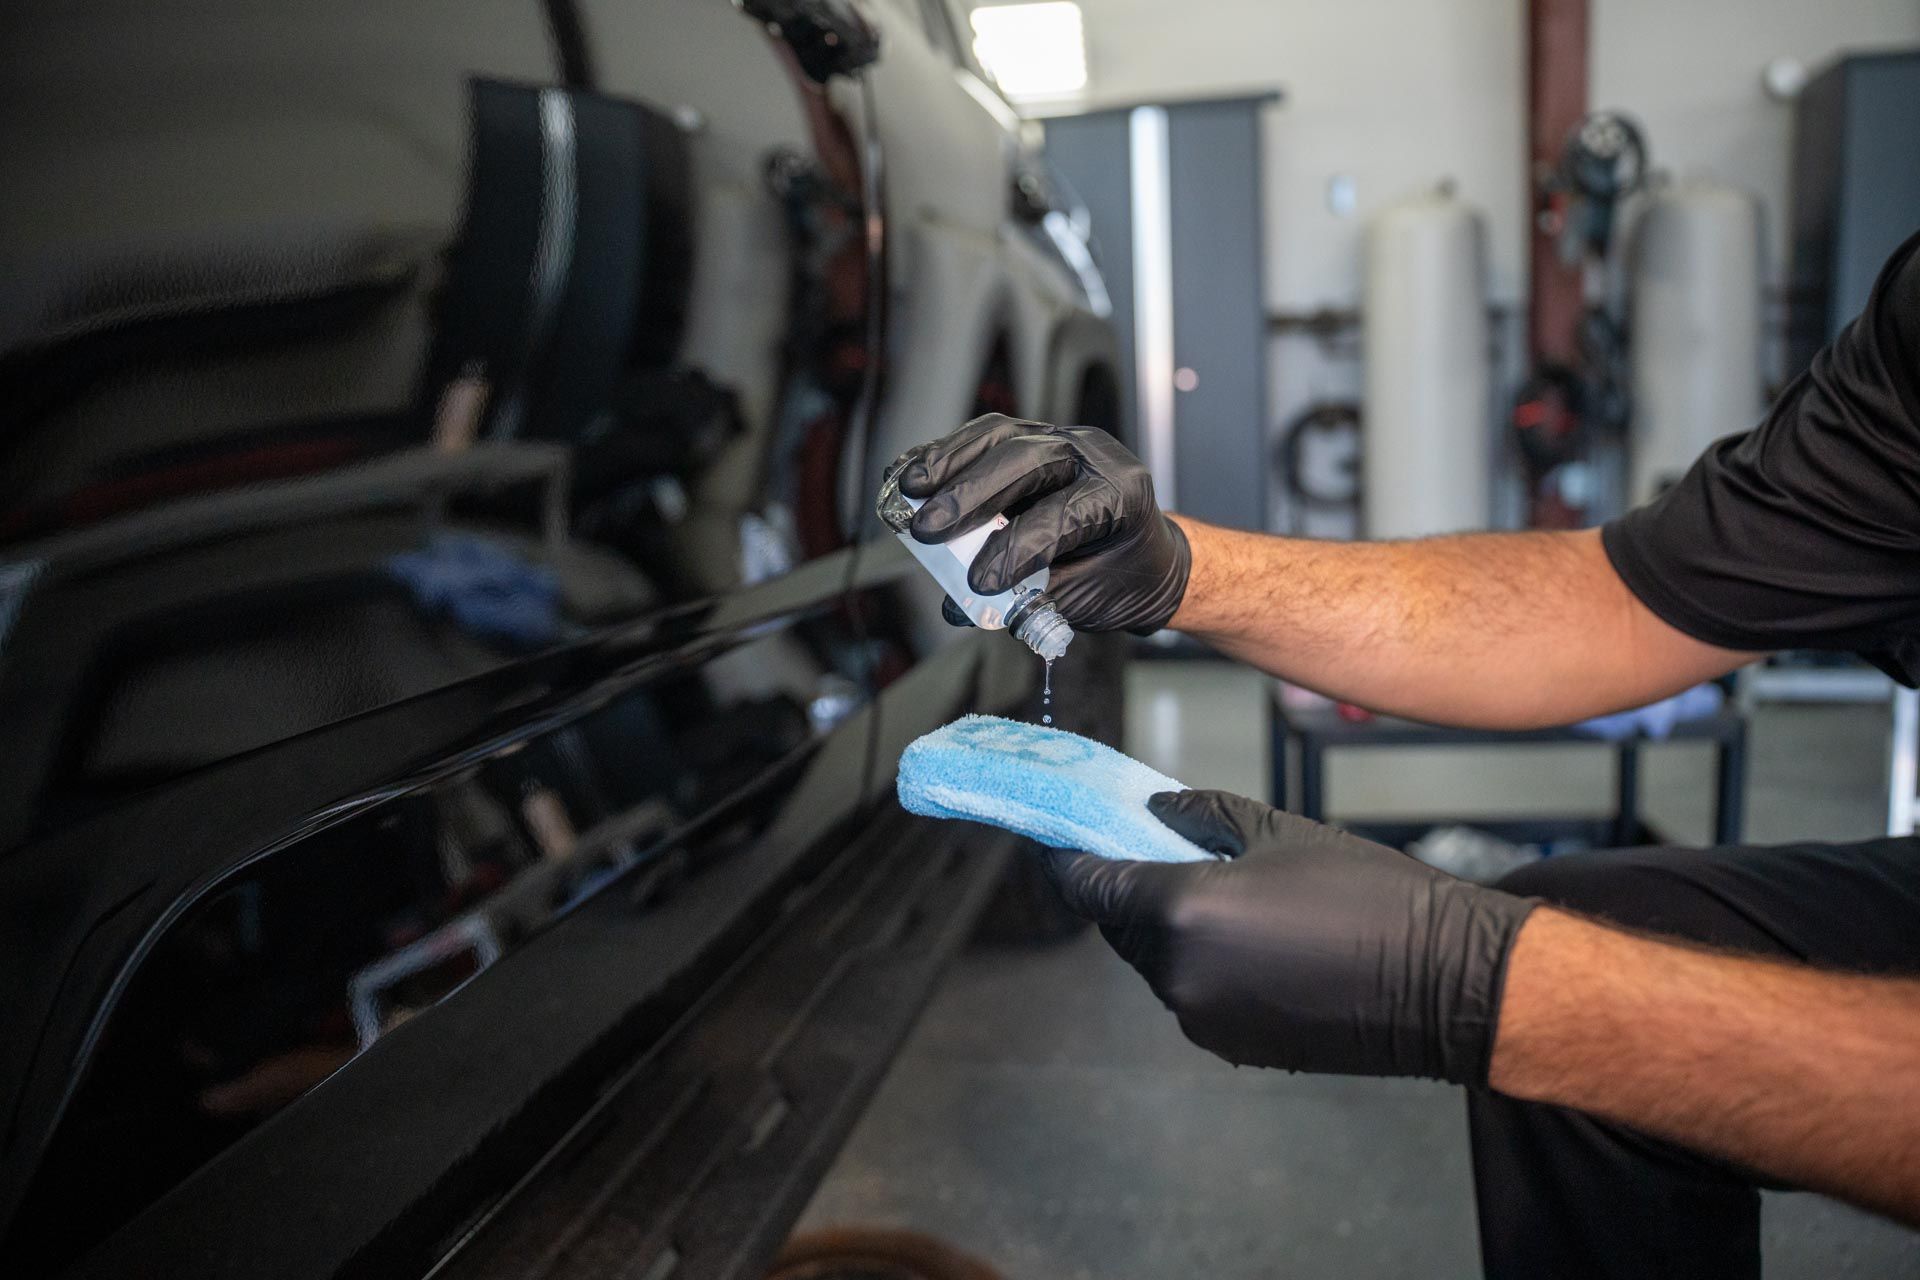
Exterior Polishing
The art of polishing and waxing is fundamental to maintaining the visual allure of your car while preserving its paint quality over time. Polishing tackles minor imperfections, such as swirl marks, enhancing clarity before adding a protective wax layer. This two-step process is crucial for safeguarding your investment.
Polishing
Step 1: Select the Right Polish
Choosing the right polish is essential for achieving optimal results. Look for a polish that aligns with your vehicle’s specific paint type. For example, if your vehicle has clear coat paint, a fine-grade polish might be suitable. A dual-action polisher can significantly improve efficiency and consistency in application. Be cautious to avoid applying too much pressure, which could inadvertently mar the surface rather than enhance it.
Step 2: Small, Circular Motions
When applying the polish, work in small sections using small circular motions—this method allows for even distribution and better penetration into the paintwork. Overlap each pass slightly to ensure comprehensive coverage. Periodically inspect your work; this helps gauge if any areas require additional attention.
Regular polishing not only enhances your car’s beauty but also prolongs its lifespan by protecting it from contaminants like bird droppings and tree sap.
With those dazzling surfaces taken care of through polishing, let’s shift focus to enhancing one of the most critical yet often overlooked aspects of your vehicle—its wheels and tires.
Detailing Wheels and Tires
Clean and shiny wheels not only enhance the appearance of your car but also contribute to its maintenance by preventing corrosion and brake dust buildup. To achieve that striking look, it’s crucial to follow a careful step-by-step process when detailing your wheels and tires. By focusing on each phase, you'll ensure that every inch of your wheels is sparkling, thereby complementing your freshly polished paint.
Steps to Detail Wheels and Tires
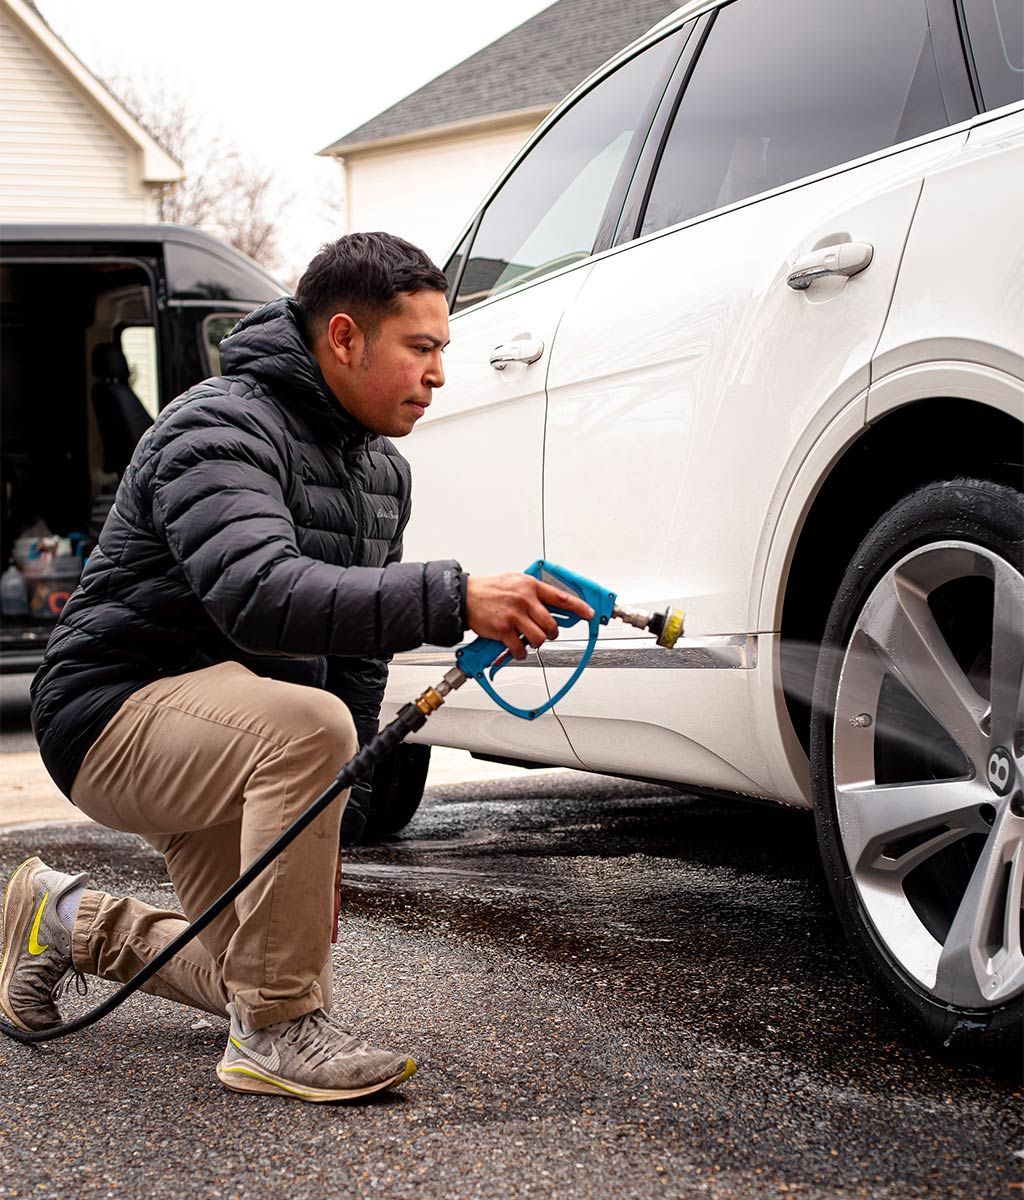
Step 1: Use a Dedicated Wheel Cleaner
Start by applying a dedicated wheel cleaner specifically formulated to tackle tough road grime and brake dust without damaging the finish. When selecting a product, look for one that is pH-balanced, as this minimizes the risk of harming painted or coated wheels. Once you’ve found the right wheel cleaner, spray it evenly over the surface of each wheel. Allow it to dwell for a few minutes—this ensures that it penetrates and breaks down stubborn dirt particles.
Using a specialized wheel brush can make a world of difference; its bristles can reach into tight spaces, like between spokes or in intricate designs. Take care not to scrub too hard.
Step 2: Rinse Thoroughly
After letting the cleaner work its magic, it's time to rinse thoroughly. Use a strong stream of water to wash away the wheel cleaner along with the loosened grime. Pay attention to all areas; ensure no residue clings to any part because leftover products can lead to staining or deterioration over time. A high-pressure hose is ideal for this step, but if you lack one, simply use an attachment that helps increase water flow.
Observing how the dirt washes away is gratifying; it’s almost like revealing the true shine beneath years of neglect.
Step 3: Polish and Protect
The last step is crucial for long-lasting protection. Apply a quality wheel polish designed for your specific wheel material—whether aluminum, chrome, or alloy—to enhance that luster and provide a protective layer against environmental elements. Following this, focus on your tires. Utilizing a non-greasy tire shine product will not only give them a sleek appearance but also help prevent cracking as well. Be cautious during application; excessive product can fling onto your bodywork while you're driving, ruining all that hard work you just put into cleaning.
By taking these steps into consideration, not only do you enhance the beauty of your vehicle, but you also cultivate a sense of pride in its upkeep—a true reflection of your commitment to excellence in every detail.
For more specialized techniques and products tailored to your vehicle's needs, by reaching out to us at
Quality Mobile Detailing or call us at (410)-946-7360. Keep shining bright and ensuring your car looks its best!